Fertilizer Tube for John Deere ExactEmerge Planter
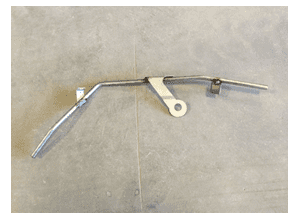
Installation Instructions for Model TT009
These instructions provide guidelines for installing your Totally Tubular fertilizer tubes. Proper installation is imperative for product success. Consider relying on our dealer network for complete installation. We are available for assistance over the phone as well.
Step 1
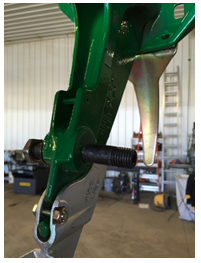
Remove gauge wheels and disc blades. Remove all shims on right side.
Step 2

Remove nut holding on the disc guard.
Step 3

Slide ExactEmerge Fertilizer tube over disc bolt as shown. This bracket takes the place of two (2) shims. It is the exact width of two (2) shims.
Step 4

Slide bracket on the top of the tube over the disc guard bolt as shown.
Step 5
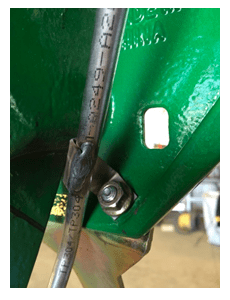
Tighten the disc guard nut back into place.
Step 6
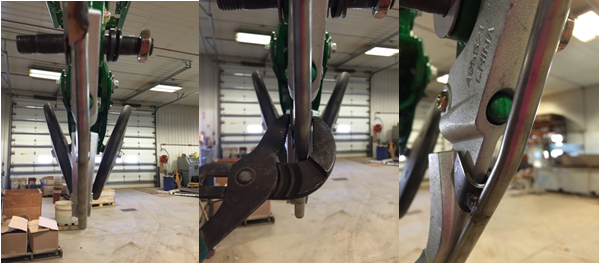
Align the tube so it is in the center of the seed tube guard and pinch the tab tightly around the guard with a channel lock. (We find a channel lock works the best.)
Step 7
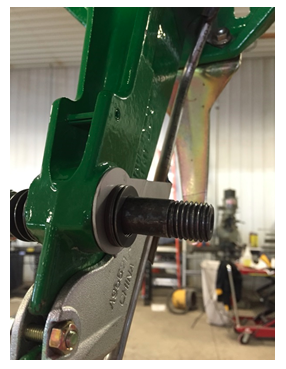
Replace all but two (2) of the shims next to the bracket.
Step 8
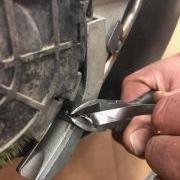
Tighten...

Snip...
Finished Look...
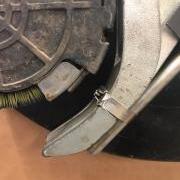
The stainless steel ties are provided in case the planter rolls backward. If this happens the tubes can bend backwards off of the seed tube guard. Tighten the tie with the fastening point in the front of the guard, closest to the brush, above the carbide tips on the seed tube guard. (see pictures below) Tighten as much as possible so the disc blade does not rub on the tie. Snip off the stainless tie close to the fastening point.
Step 9
The 6mm plastic line is optional. It is provided for additional pressure out of the bottom of the tube. This tube can be inserted up the bottom of the tube, leaving 1/4" sticking out of the bottom. Please inspect daily.
Please note: This line may or may not need to be used. In some very dry conditions, this line may melt due to friction; if this happens, remove the plastic 6mm line.
Access our Dealer Network
If you'd like to add our Fertilizer Tube to your crop strategy please contact one of our dealers for assistance.
